When investing in a new laptop, many users overlook the importance of accessories that can improve performance, comfort, and overall efficiency. Whether you’re a student, a remote worker, or a casual gamer, the right set of accessories can transform your computing experience.

One of the first essentials is an external mouse. While trackpads have improved significantly, they can still feel limiting during long working sessions. A wireless ergonomic mouse reduces strain on the wrist and provides better precision for tasks such as graphic design or gaming.
Next, consider a keyboard upgrade. Compact laptops often have shallow key travel, which can lead to typing fatigue. A mechanical or low-profile keyboard with backlit keys ensures faster and more comfortable typing, especially in low-light environments.
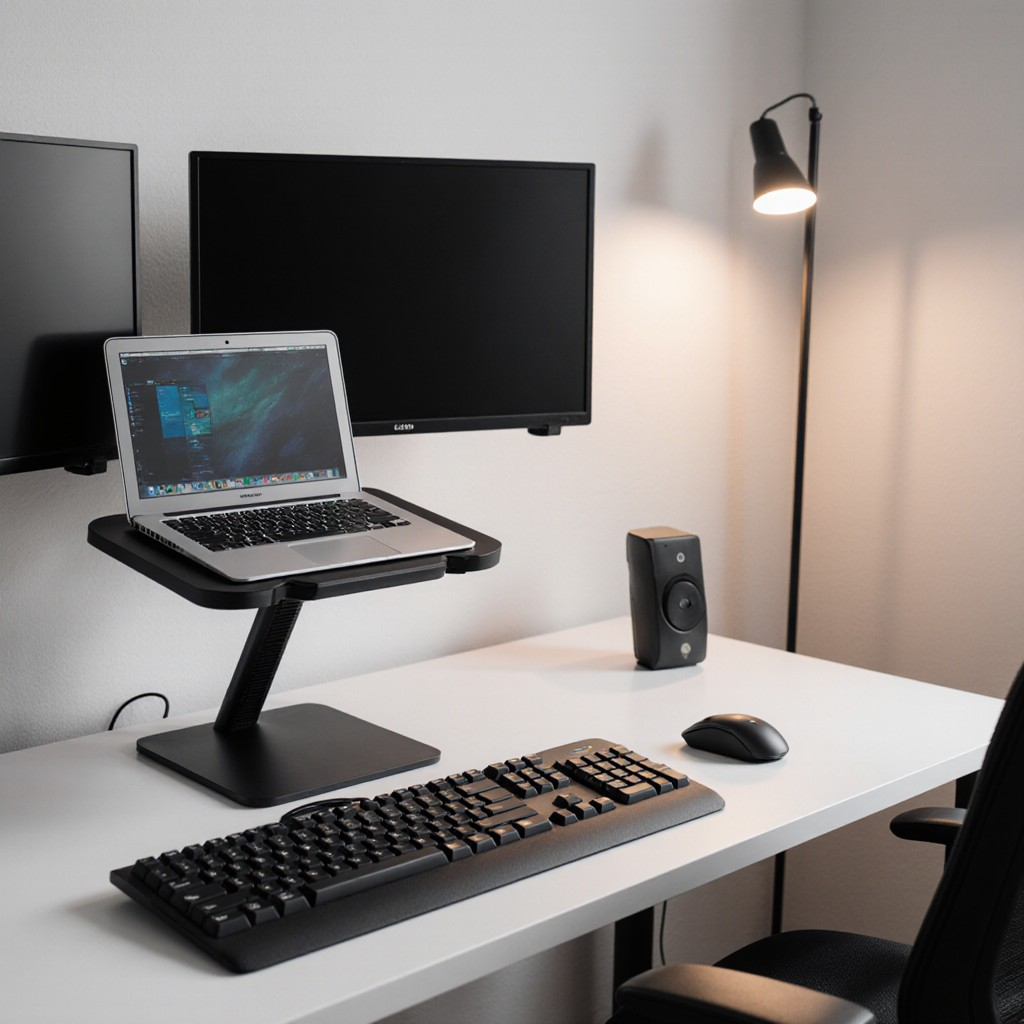
Another must-have accessory is a laptop stand. Maintaining proper posture is critical when spending hours in front of the screen. A stand elevates your laptop to eye level, reducing neck and back strain. Paired with an external monitor, this setup creates a dual-screen workspace that enhances productivity and multitasking.
For those who value audio quality, headsets and external speakers are worth the investment. Built-in laptop speakers tend to lack depth and clarity, making them less than ideal for meetings, streaming, or music. Noise-canceling headphones also help create focus in busy environments.
Finally, don’t underestimate the power of docking stations and hubs. With laptops becoming thinner, ports are often limited. A docking station provides additional USB, HDMI, and Ethernet connections, turning your portable device into a full desktop workstation.
In short, the right laptop accessories are not just add-ons but essential tools that improve comfort, efficiency, and enjoyment. By choosing wisely, you can create a workspace that supports your lifestyle and boosts your productivity.


